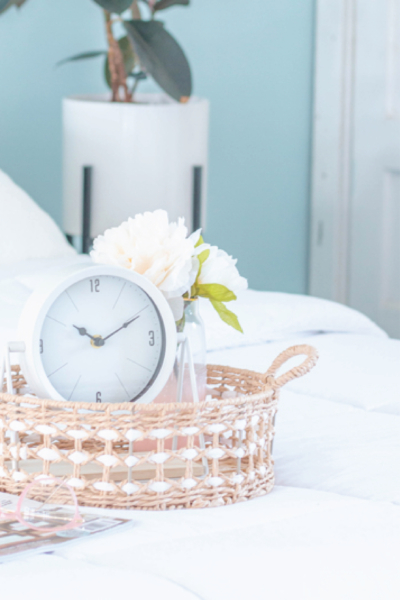
In talking to another blogger about learning how to take better photographs, she told me about Click. Love. Grow. Immediately I fell in love. Fell…in…love…I tell you!
I joined her next class session and the rest is history. My photo’s have gone from this…
To this professional quality…
Yes, really! Isn’t it awesome. (Note: I did cheat and use a tabletop light for this picture, which she teaches how to get natural light. You can read all about the tabletop light and my amazing experience here. Her class and that light have changed my pictures FOREVER!)
So, in my endeavor to spread the word about this fantastic photography course, I asked Louise, the creator of Click. Love. Grow. to create a guest post for you all, to show you how to take better pictures.
Louise never ceases to amaze me.
You’re really going to LOVE this post on how to take your own family photos with the camera you already own, because more than anything else, I’m pretty confident, you don’t want to go out and spend $2,000 on a new camera, am I right?!
Tip: If you want to be included in the photos, simply have a friend or another family member take them and show them this post! 🙂
Alright, Louise, take it away…
How to Take Your Own Family Photos With The Camera You Already Own
Whether you own a fancy camera, or you take most of your photos on your smart phone, there’s nothing more satisfying than being able to capture beautiful DIY portraits of your kids! Whether it’s to capture a fun memory or activity, or to frame and give to Grandma for her birthday!
Today I want to share with you the photography essentials that will not only help you take better photos, but give you some fun ideas for photoshoots and portraits of your kids at home!
Find great light!
The first element in taking photos that are ‘keepers’ is finding beautiful soft and flattering light. Great places to find light around your home is close to windows and doorways, in shade outside, or surprisingly, one of the best places is in your garage or carport.
You want the light to be soft and filtered, not direct sunlight, so some areas will be better at different times of the day!
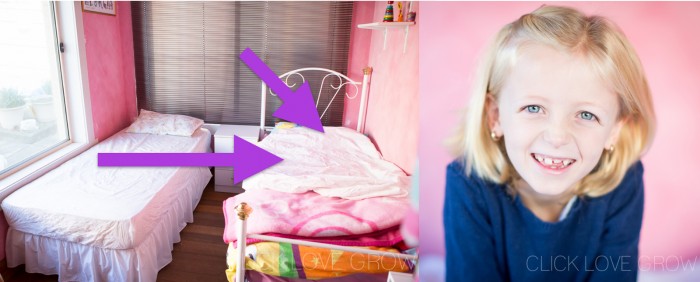
See here in this example how I have two very large windows with soft-light which makes for a perfect portrait spot.
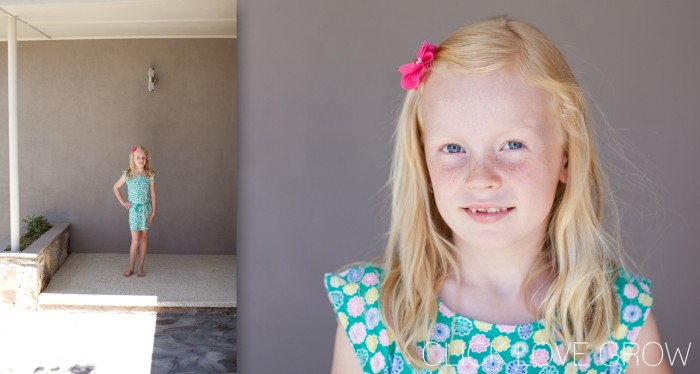
Another place I love to take photos is in my patio outside my front door!
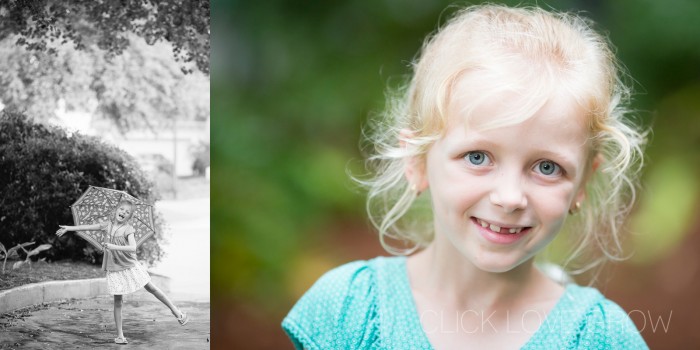
Outside on a cloudy day is also perfect as the light is naturally soft and filtered.
And why soft light? See the difference between shooting in full midday sun, vs. moving into a shaded area. No more scrunched up noses or squinting faces!
Create a Fun Background
One of the biggest mistakes we make when taking photos of our kids at home is not paying attention to what’s in the background of our photos… and there’s nothing more distracting than photos with awkward clutter everywhere through the photos that distracts from the beautiful smiling subject!
Simplicity is key, and so aim to take portraits against simple plain backgrounds, such as walls or garden foliage. Or if you really want to have some fun, create your very own backdrops! You don’t need fancy studio equipment to do this good.
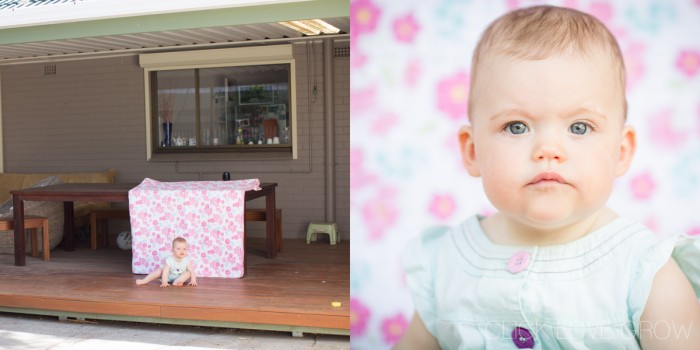
In this example I’ve taken the photo using my kids bedspread hung over a table-top. Again I looked for the light first, and set-up on my patio outside in the shade, and then placed the sweet little one in-front of the backdrop.
A couple of technical pointers here:
– If you’d like to achieve the lovely background blur and you have a DSLR then use AV mode and set your camera to a small f-stop number
– Ensure that your subject isn’t too close to the background. The more space you can put between them, the more you’ll get that subtle blurring
– Make sure if using fabric, you don’t have wrinkles or creases, as this is also really distracting.
Another great background you can use, which is really simple and effective, is a great rug or blanket in a photo that you take ‘looking down’. This even works for grass or gardens!
In this example I found lovely light near a window, placed the blanket on the ground and I was able to take a beautiful, simple, and effective shot, that’s all about my smiling subject!
Avoid the Cheese
Finally, once you’ve set-yourself up, taken a couple of practice shots, and called in your subjects (always take test shots first – I promise your kids will thank you), then you want to avoid that glassy eyed, fixed gaze stare that kids are likely to give when you ask for cheese!
Instead interact with your kids to keep it relaxed and fun so that your photos capture their natural personalities! I love to ask my kids for the ‘laughing smile’… or I threaten tickles, or make really bad jokes!
Also make sure you keep snapping! Often it’s those ‘in-between’ moments that are wonderful keepers. I personally love the ‘looking away’ shots with cheeky grins… so you don’t always need eye contact!
So in summary… the three key ingredients for wonderful portraits of your kids?
#1 – Find flattering soft light
#2 – Avoid clutter and remember simplicity rules…create fun backgrounds
#3 – Avoid the cheese and engage playfully with your kids for fun natural smiles!
All of these apply whether you’re using a fancy DLSR or your iPhone…and the real secret to taking better photos is to practice, practice, and practice!
For loads more Photography Tips and Inspiration check out Click. Love. Grow where we provide helpful and practical photography tutorials and courses designed for busy women and moms!
Happy Snapping!


